Marcy Tilton Designer Fashion Fabrics
 
Holiday Velvets
 
 
First Dibs on New LA Deadstock
 
 
The holidays are velvet season, and I’m excited to bring you a new set of sumptuous, solid color velvets from the studios of LA fashion designers. Subscribers are invited to enjoy first-dibs deals on these visually delicious new velvet knits, plus subscriber savings on our current curation of velvet and velveteen.
 
 
20% off the Velvet Collection
with code PLUSHCRUSH
 
 
CODE GOOD THROUGH NOVEMBER 11


SCARLET
 
BURGUNDIAN
 
 
ICEBERG
 
LAPIS
 
 
CHESTNUT MOSS
 
PLUMMY
 
 
CRANBERRY
 
DIVA PURPLE
 
 
MOUSEBACK
 
SAGE


SEWING & PRESSING TIPS
 
 
Sewing Velvet
 
 
Mark with tailor’s tacks.
Use embroidery thread—it doesn’t pull out easily. Take one stitch only through both layers of the fabric, leaving ¾” tails. Then gently separate the layers and clip the threads to mark both sides cleanly. This traditional method keeps markings visible without bruising the pile.
 
 
Or, mark with a dressmaker’s pencil.
Make a small dot at each marking. To deepen the color and help it last, lick the pencil tip lightly before marking. This simple trick adds contrast on plush or dark fabrics.
 
 
Prevent shifting as you sew.
The biggest challenge with velvet is keeping the layers from moving. The best solution is to use a walking foot in combination with a temporary spray adhesive such as 505 Spray.
 
 
Apply adhesive correctly.
Cover your work surface with paper, and carefully mask off the seam allowance with strips of paper. Spray a light, even coat of adhesive within the seam allowance only. Then align the edges right sides together and stitch as usual.
 
 
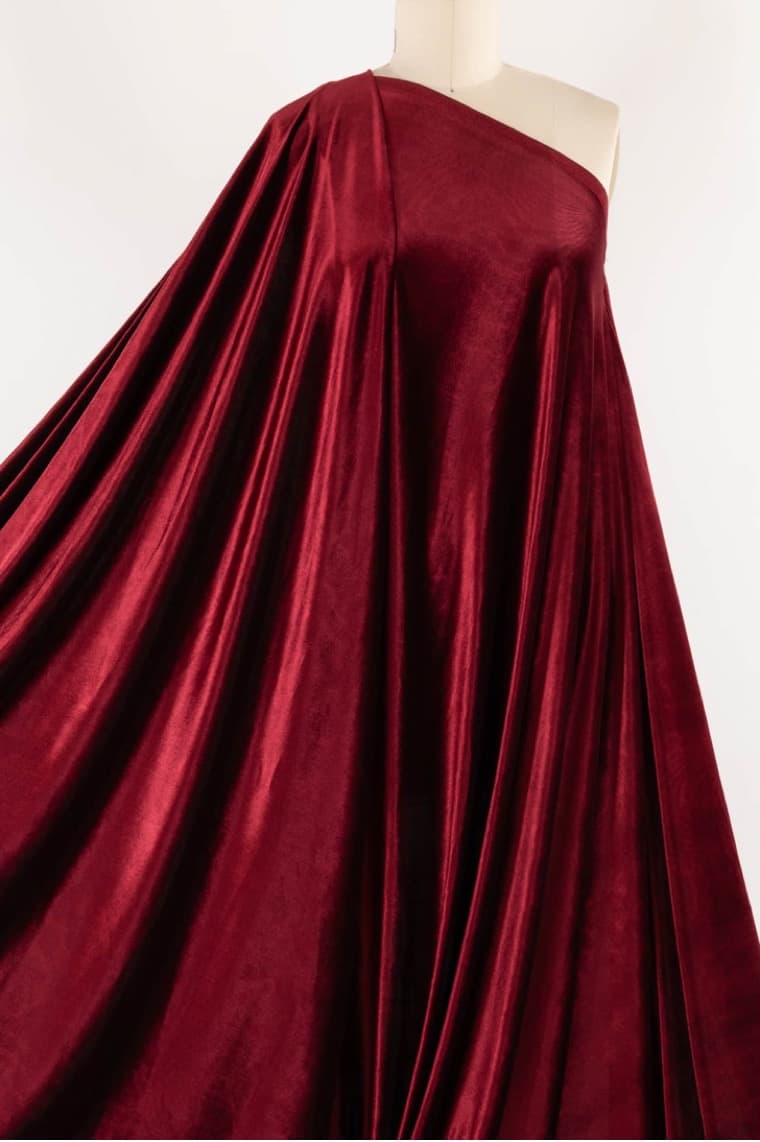
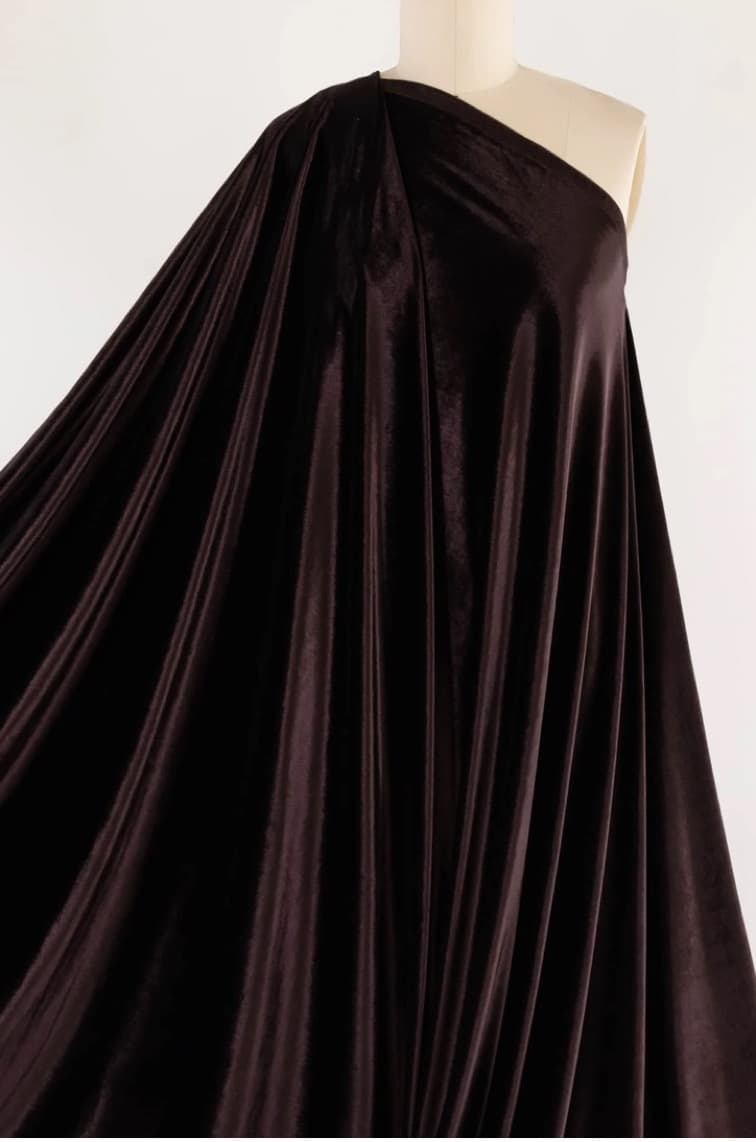
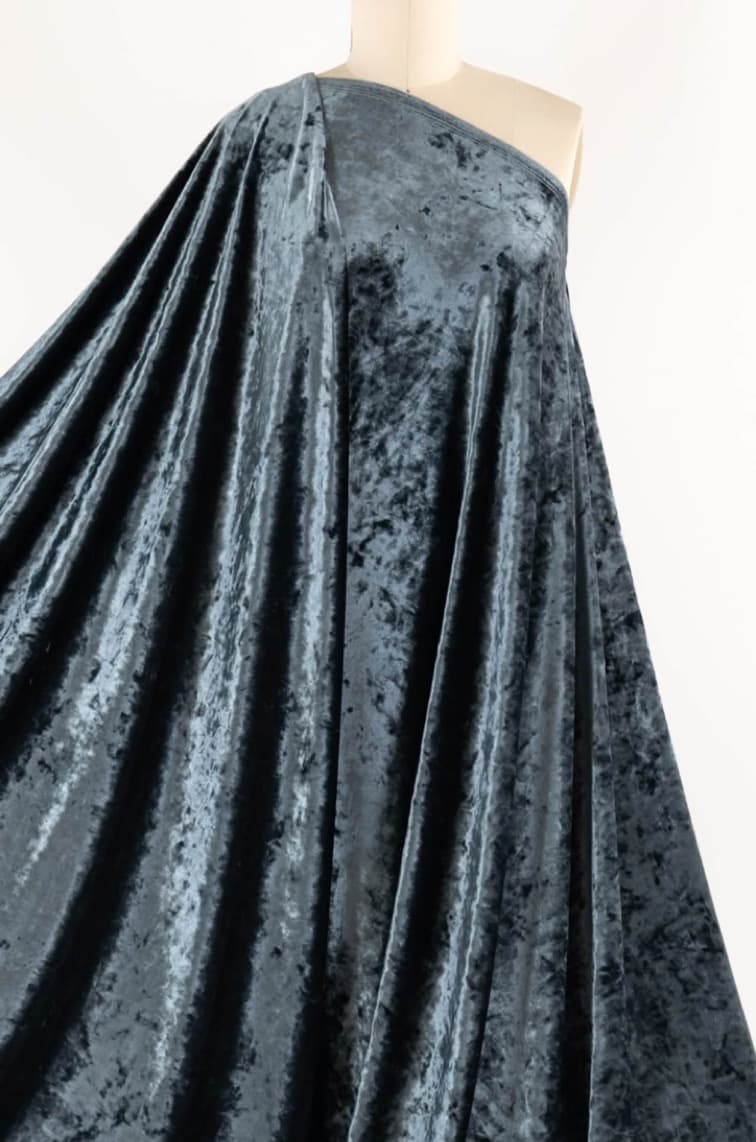
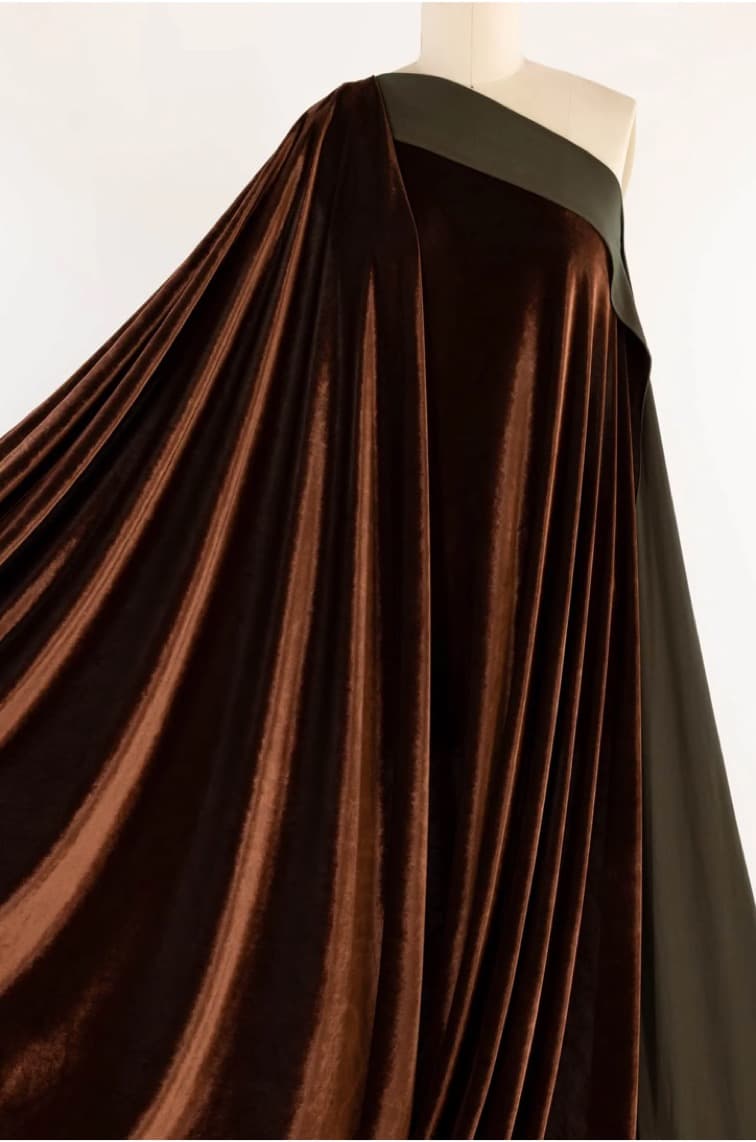
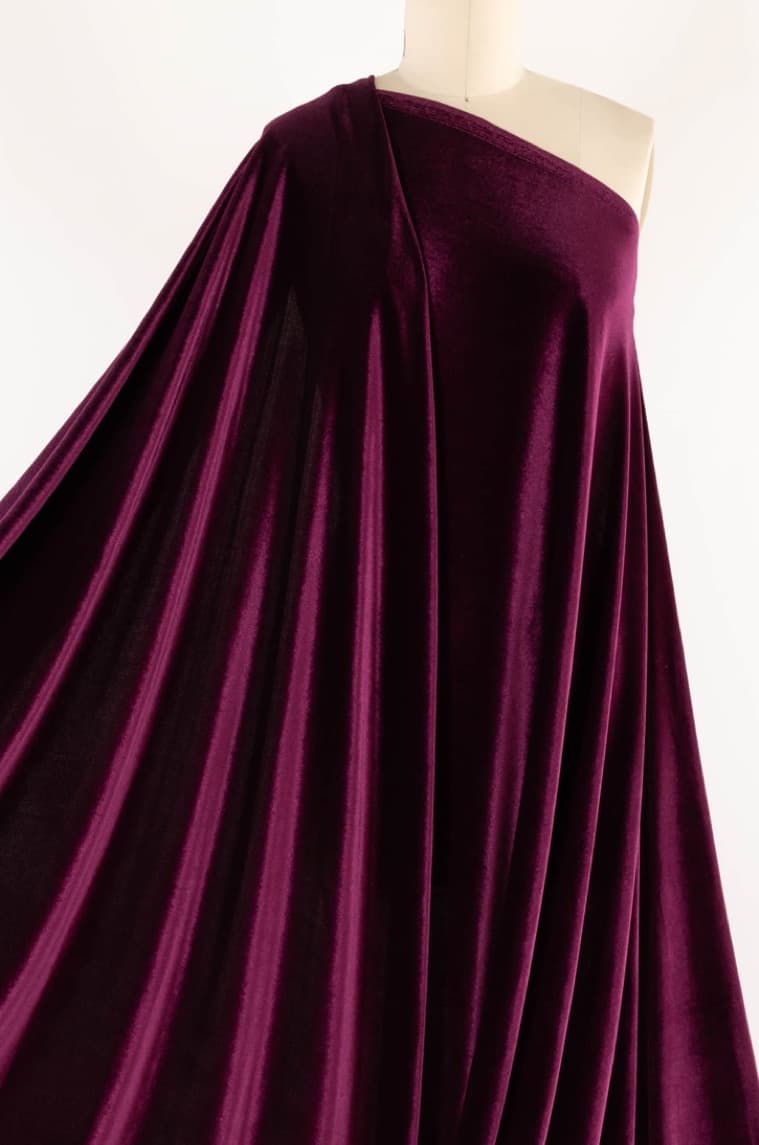
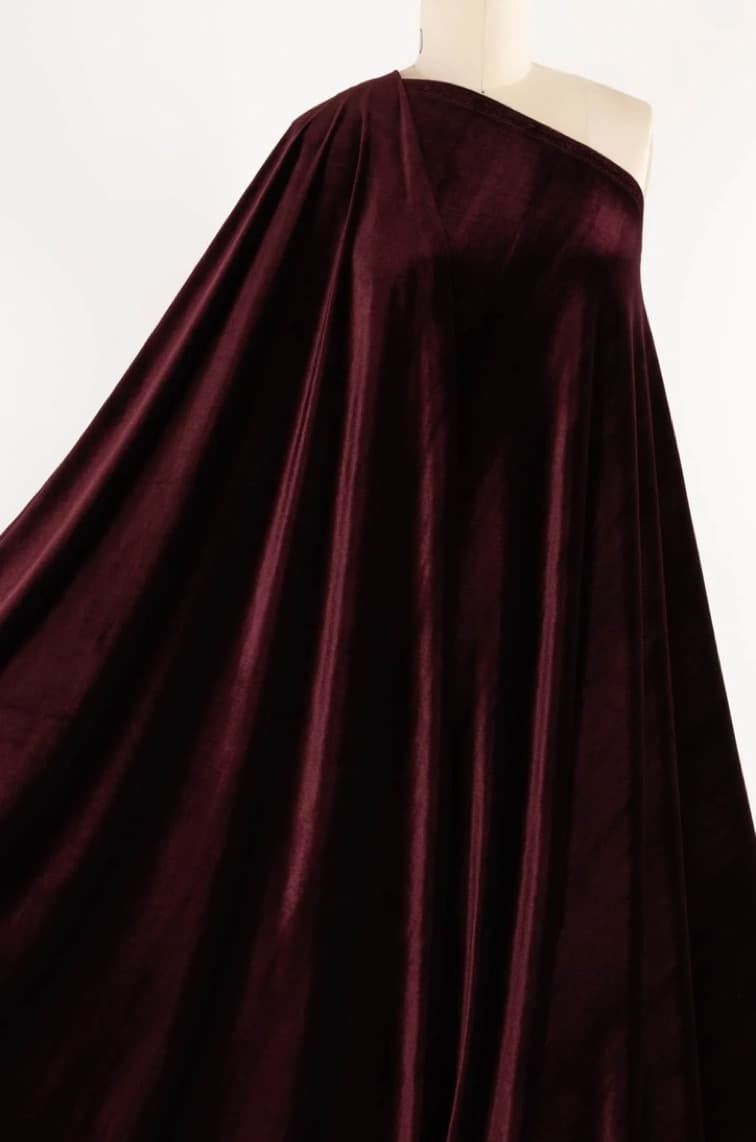
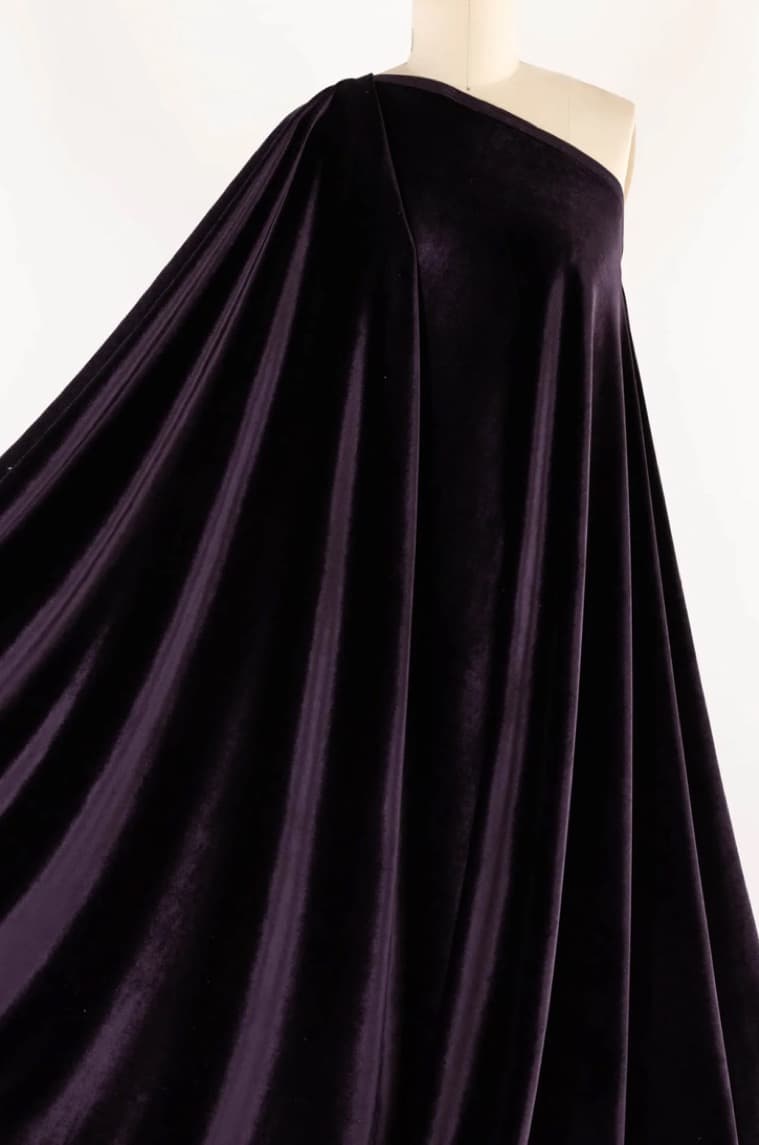
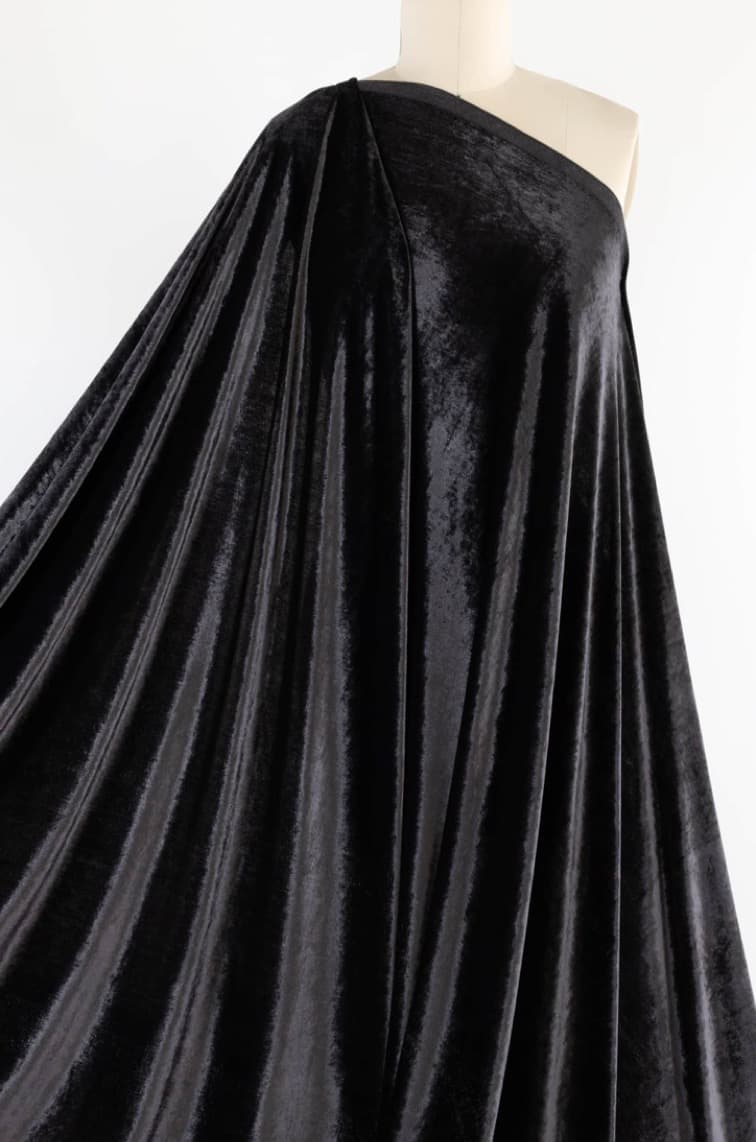
A couture secret revealed.
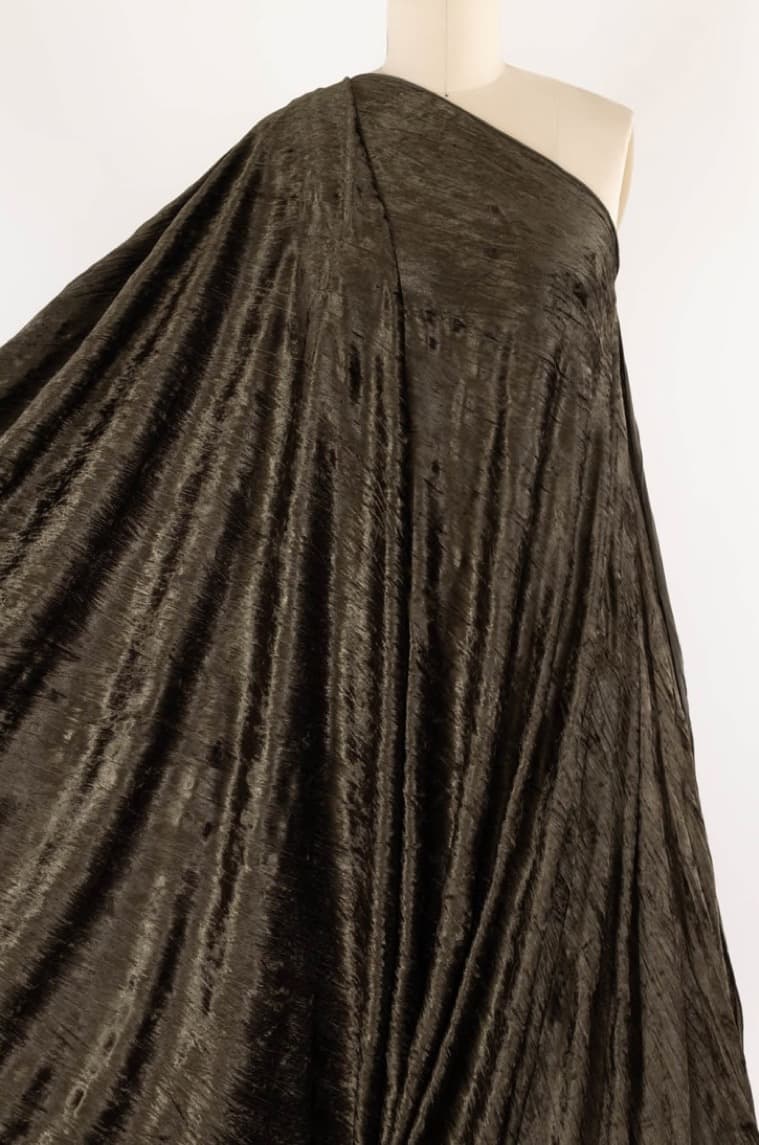
It’s a little-known secret of couture houses that seamstresses have relied on similar spray adhesives for years to stabilize velvet and other delicate fabrics. The result: smooth seams, aligned pile, and professional finish—fast, effective, and beautifully precise.


Pressing Velvet
 
 
Keep a light hand.
Velvet demands delicacy—press, don’t press down. Let the heat and steam do the work rather than pressure from the iron.
 
 
Use plenty of steam.
Generous steam helps relax the pile and set seams without crushing the fabric’s surface. Hover the iron just above the velvet.
 
 
Finish with a clapper.
After steaming, lightly press with a clapper to lock the shape in place as the fabric cools. It sets the seam beautifully while preserving that soft, dimensional sheen velvet is known for.